Installing LED Backlighting on Your TV the Right Way
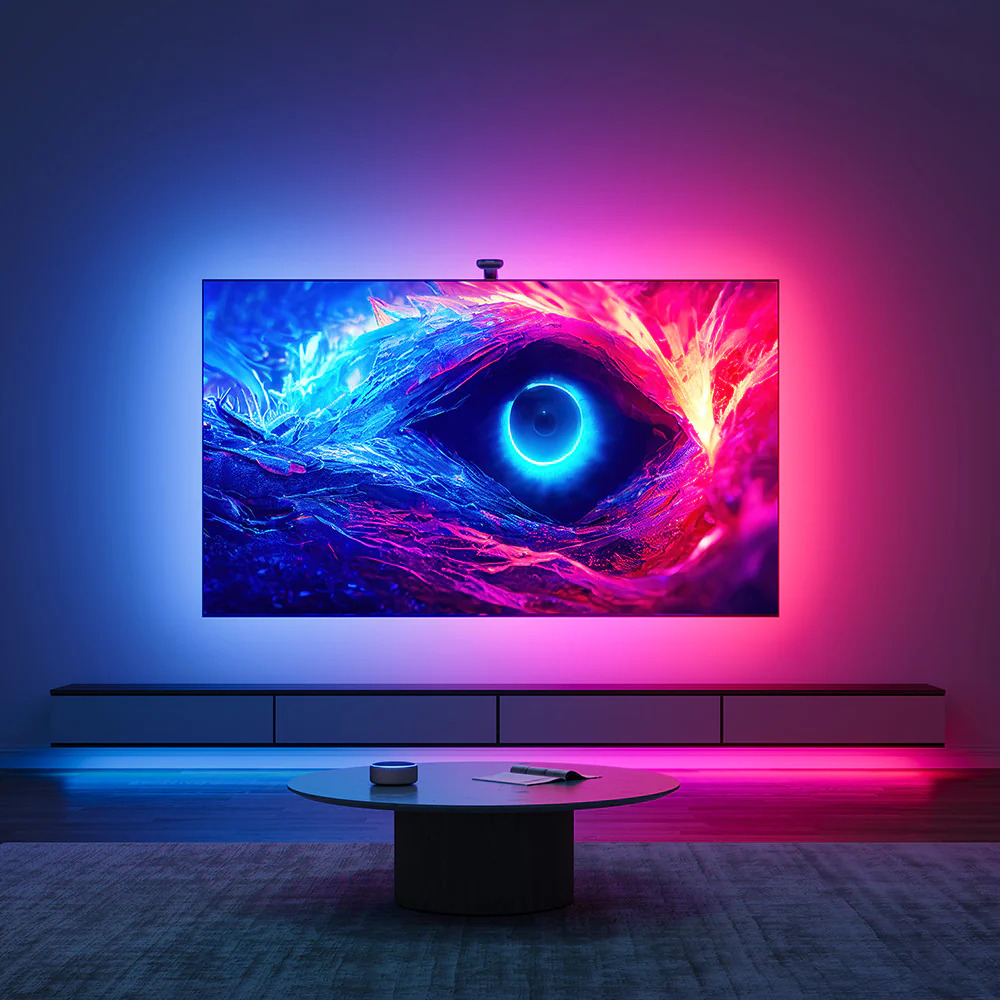
Ever turned off the lights, started a movie, and realized your screen looks a little… harsh? You’re not alone. That stark contrast between your TV and a dark wall can strain your eyes and kill the vibe. That’s where LED backlighting comes in — and trust us, it’s not just about looks.
If you’re in Kansas and thinking of upgrading your entertainment setup, installing LED strips behind your TV is one of the easiest and most affordable ways to take things up a notch. Let’s walk through it together, step by step.
Why LED Backlighting Is More Than Just Cool Ambiance
Sure, LED lights look awesome. But the real benefits go deeper:
- Eye comfort: Reduces eye strain during long viewing sessions, especially in dark rooms.
- Improved contrast: Helps your eyes adjust to screen brightness, enhancing image clarity.
- Energy efficiency: Most LED kits sip power, so you’re not burning through your electric bill.
- Custom vibe: You can set the tone for movie nights, sports games, or gaming marathons with dynamic color settings.
Want to dive deeper into the science behind it? We broke it all down in our full post on why LED TV backlighting can improve your viewing experience.
What You’ll Need Before You Get Started
Before you stick anything behind your TV, let’s make sure you’ve got the right setup.
- LED strip kit: Look for kits labeled “TV backlight” or “bias lighting.” USB-powered versions are ideal.
- Rubbing alcohol: For cleaning the back of your TV so the strips actually stick.
- Measuring tape: Optional, but helpful if your kit isn’t pre-cut.
- Remote or app: Most kits come with one or both — make sure you can control brightness and color.
Pro tip: Grab a kit that’s at least a few inches shorter than the perimeter of your screen. You don’t need full coverage to get the effect.
Clean, Measure, and Prep Your TV
Step 1: Unplug and Lay Your TV Flat (If You Can)
First things first: safety. Turn off your TV and unplug it. If it’s wall-mounted and easy to remove, lay it face-down on a soft surface like a bed or couch. If that’s not doable, just be extra gentle working on the back while it’s upright.
Step 2: Wipe Down the Back
Use rubbing alcohol and a soft cloth to clean the outer edges of the TV’s back panel. Let it dry completely. This makes a huge difference in how well the adhesive sticks — especially in Kansas humidity.
Step 3: Measure and Plan Your Layout
Most kits are designed to go around the top and sides of the TV. Dry-fit the LED strips around the edges before peeling anything. That way you can plan for:
- Where the USB plug will go (usually bottom center or side)
- How the corners will bend — most LED strips are flexible but don’t fold sharply
- Where you might need to trim or overlap if your screen’s an odd size
It’s Go Time: Installing the LED Strips
Step 4: Peel and Stick
Once your plan is set, peel the backing off the adhesive strip bit by bit. Start at the USB end and work your way around. Press firmly as you go, especially around corners.
Step 5: Connect Power and Test
Plug the LED strip into a USB port on your TV or an external adapter. Turn the TV on and test the light. If you’ve got a remote or app, play around with the colors and brightness to dial in your vibe.
Heads up: Some cheaper LED kits only work when the TV is on. If you want always-on lighting, consider using a USB adapter plugged into a wall outlet.
Making It Smart: Optional Add-Ons
If you’re techy (or just love cool gadgets), consider these upgrades:
- Voice control: Some LED kits work with Alexa or Google Assistant.
- Sync to music: Great for parties — the lights change with the beat.
- TV sync: Higher-end kits like Govee DreamView or Philips Hue sync with what’s on screen for immersive lighting. It’s not cheap, but it’s stunning.
A Few Common Mistakes to Avoid
- Skipping the cleaning step: Your strips will fall off within days.
- Covering ventilation: Don’t block vents — your TV needs to breathe.
- Overloading USB ports: If you’re already using every port, go with a wall adapter instead.
Ready to Upgrade Your Space with LED Backlighting?
If all this sounds like a lot of hassle — or if you want to make sure it’s done cleanly — we’ve got you covered. At SmartHome Connect, we offer professional TV installation services across Kansas, including TV mounting and LED backlight setup. Whether you just bought a new screen or want to refresh your current setup, we’ll make it look seamless and clean.
Contact us today to book your install — and give your screen the glow-up it deserves!